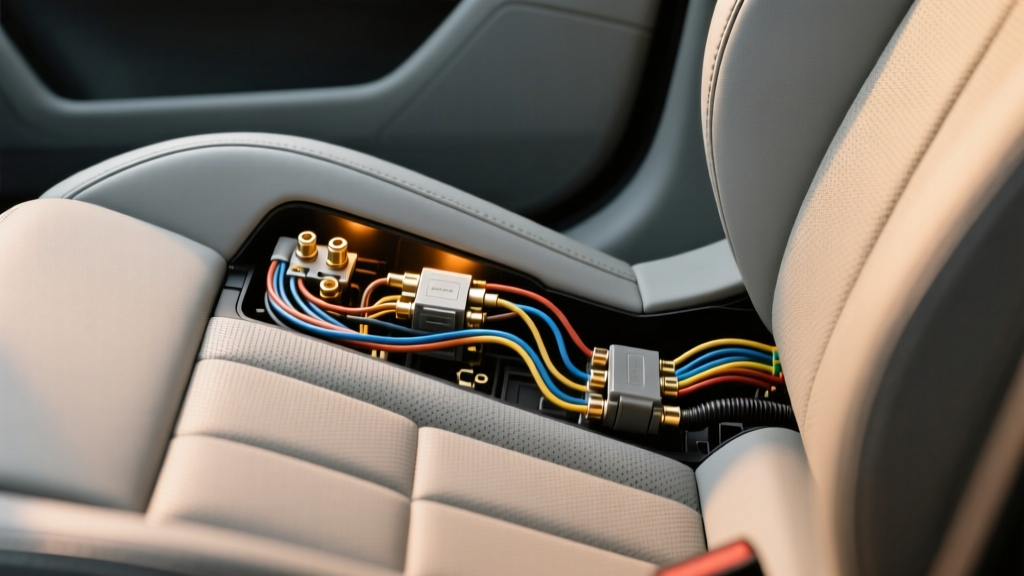
Heated Seat Wiring: Buying Guide (2026)
Heated seats are one of those ?why didn?t I do this sooner?? upgrades?especially if you live where winters bite or you deal with a stiff back on long drives. But while the heating pads themselves get most of the attention, the wiring is what determines whether your install is safe, reliable, and frustration-free.
Buy the wrong heated seat wiring kit and you might end up with slow warm-up times, switches that fail early, blown fuses, or?worst case?overheated wires and melted connectors under your seat. Buy the right kit and the system feels factory: quick heat, consistent temperature, clean routing, and no electrical gremlins.
This guide breaks down what heated seat wiring actually includes, how to choose the right components for your car and seat type, and how to install it with confidence. Whether you?re upgrading a daily driver, restoring a classic, or adding comfort to a truck or SUV, you?ll find practical buying advice and real-world tips below.
How Heated Seat Wiring Works (Simple Overview)
A typical heated seat system is straightforward: power flows from the battery (or a fused ignition source) to a control module or relay, then through a switch, and finally to the heating elements inside the seat. A thermostat or temperature sensor regulates heat to prevent overheating.
Core components you?ll see in most kits
- Heating elements (pads): Usually one pad for the seat bottom and one for the seat back.
- Wiring harness: The ?roads? that carry power and signals between components.
- Fuse and fuse holder: Protects the circuit if something shorts or draws too much current.
- Relay (in many kits): Allows high current to flow safely without running it through the switch.
- Switch: On/Off or multi-level (often 2-stage or 3-stage).
- Control module (some kits): Handles multiple heat levels, timers, and temperature regulation.
- Thermostat / temp sensor: Prevents overheating and keeps heat consistent.
What to Look for When Buying a Heated Seat Wiring Kit
Not all wiring kits are equal. The ?best? one depends on your seats, your vehicle electrical system, and how OEM you want it to feel.
1) Voltage compatibility (12V vs. 24V)
- Most passenger cars, SUVs, and light trucks: 12V systems.
- Some commercial trucks, heavy equipment, and fleet vehicles: 24V systems.
Make sure the wiring kit and heating pads match your system voltage. Running 12V pads on 24V can destroy elements quickly and create a safety hazard.
2) Current draw and fuse size (don?t guess)
Heated seat elements typically pull roughly 3?8 amps per seat depending on wattage and heat level. Dual-zone kits (back + bottom) can draw more on initial warm-up.
- Check kit wattage: Watts � Volts = Amps.
- Use the recommended fuse: Common sizes are 10A or 15A per seat.
Real-world example: A 60W seat heater on a 12V system draws about 5A. Two seats could draw around 10A, which affects whether you can share a circuit or need separate fused feeds.
3) Relay vs. relay-less designs
- Relay-based kits: Generally preferred for reliability. High current goes through the relay, not the dash switch.
- Relay-less kits: Can work fine for low-draw systems, but the switch and wiring quality matter a lot.
If you want a more OEM-like setup and long-term durability, a relay (or control module with built-in relay logic) is usually the safer bet.
4) Heat levels and control style
Wiring complexity rises with features. Decide what you want up front:
- Single-level (On/Off): Simplest wiring. Heat cycles via thermostat.
- Two-level (High/Low): Common and practical.
- Three-level or variable: More comfort control, usually requires a module.
- Timed shutoff: Helps prevent accidentally leaving the heater on.
5) Switch quality and fitment (where most installs go wrong)
Many kits include universal switches that don?t match your interior or don?t mount cleanly. Before buying, confirm:
- Switch dimensions (panel cutout size)
- Backlighting (amber/white/blue; matches your dash)
- Mounting style (snap-in, screw mount, adhesive)
- Weather resistance (for UTVs or open cabs)
Tip: If you care about an OEM look, search for a kit that supports ?factory-style? switches or offers trim bezels for common blank switch panels.
6) Connector type and under-seat durability
The area under a seat is harsh: movement, vibration, dust, and the occasional kicked water bottle. Look for:
- Locking connectors that won?t wiggle loose
- Strain relief near seat-mounted plugs
- Heat-resistant insulation and solid crimp quality
- Enough harness length for your vehicle (especially extended-cab trucks)
7) Compatibility with seat type (cloth, leather, aftermarket, OEM)
- Leather seats: Often feel warmer faster; wiring needs careful routing to avoid pressure points.
- Cloth seats: Usually very forgiving to install.
- Aftermarket racing seats: Some have limited foam space; choose thinner pads and flexible harness routing.
- OEM seat frames with airbags/occupancy sensors: You must avoid interfering with factory systems.
Types of Heated Seat Wiring Kits (Pros and Cons)
Universal aftermarket wiring kits
- Pros: Widely available, affordable, works for most vehicles
- Cons: Switches may look universal, harness lengths vary, instructions can be generic
OEM-style retrofit harnesses
- Pros: Cleaner integration, factory-like switches, often better fit/finish
- Cons: Vehicle-specific; can cost more; may require pinning connectors
Standalone control-module systems
- Pros: Smoother heat control, multiple levels, built-in safety features
- Cons: More wiring connections, more components to mount
Product Recommendations: What to Compare Before You Buy
Rather than pushing one brand for every car, use these comparison points to find the right heated seat wiring kit for your project. When you?re shopping online, look for clear specs?if a listing won?t tell you fuse size, wattage, or whether it uses a relay, keep scrolling.
Quick comparison checklist
- Per-seat wattage: 40?70W is common; higher wattage warms faster but draws more current
- Relay included: Yes is preferable for most installs
- Heat settings: On/Off vs 2-level vs 3-level
- Switch type: Rocker, push button, rotary; backlit or not
- Harness length: Measure from battery/firewall to seat location
- Fuse strategy: One fuse per seat is a clean approach
- Warranty and documentation: Real instructions and labeled wires save hours
Which kit style fits your needs?
- Budget daily driver: Universal kit, 2-level switch, relay, 10?15A fuse
- OEM-look interior build: OEM-style switches, vehicle-specific harness if available
- Off-road/UTV: Weather-resistant switches, sealed connectors, abrasion-resistant loom
- Luxury feel: Module-controlled multi-level heating with smooth cycling and timer
Step-by-Step: How to Plan Your Heated Seat Wiring Install
Even if you?re paying a shop, knowing the process helps you buy the right kit and avoid expensive rework.
Step 1: Confirm your power source (battery vs ignition)
- Decide when seats can run:
- Ignition-only (recommended): prevents draining the battery if you forget them on.
- Constant power: allows pre-warm with the car off, but increases battery-drain risk.
- Pick a safe tap point: fuse box add-a-fuse for ignition signal, with a dedicated fused line to battery for high current (common approach).
Step 2: Choose fuse placement and size
- Place the fuse as close to the power source as possible (typically within 6?12 inches of the battery connection).
- Use the fuse value specified by the kit. If you?re building custom, size the fuse slightly above normal draw, not massively oversized.
Step 3: Plan a clean wiring route
- Route along factory harness paths when possible.
- Avoid sharp seat tracks, hinges, and moving recliner mechanisms.
- Use split loom, cloth automotive tape, and zip ties (not so tight they pinch the wire).
- Leave a service loop (a little slack) under the seat so movement doesn?t strain connectors.
Step 4: Mount switches where they make sense
- Pick a location you can reach without looking (common spots: center console blanks, lower dash blanks, seat side trim).
- Check clearance behind the panel for the switch body and connector.
- If drilling is required, measure twice and protect surrounding trim.
Step 5: Connect grounds properly
- Use a clean chassis ground (bare metal, no paint).
- Keep ground wires short and secure.
- If you have random heater behavior (flicker, cycling oddly), a weak ground is a common culprit.
Step 6: Test before reassembling everything
- Reconnect the battery.
- Turn ignition on (if ignition-triggered).
- Verify the switch lights up (if backlit).
- Wait 1?3 minutes: the seat should begin warming.
- Confirm both back and bottom heat (if separate pads).
Practical tip: Use a clamp meter (or multimeter in series if you know how) to confirm current draw matches expectations. If the draw is much higher than rated, stop and inspect for pinched wiring or incorrect connections.
Common Mistakes to Avoid
- Oversizing the fuse: A bigger fuse doesn?t ?fix? blowing?it removes protection and can let wiring overheat.
- Tapping into an under-rated circuit: Heated seats draw real current. Don?t piggyback off a small accessory circuit that wasn?t designed for it.
- Routing wires across seat tracks: This is a classic failure point. One seat adjustment can slice insulation.
- Skipping the relay (when required): If the kit expects a relay and you bypass it, switches can fail early or wiring can heat up.
- Poor grounding: Loose or painted grounds cause intermittent heating and nuisance fuse blows.
- Interfering with airbags/occupancy sensors: Many modern seats have side airbags and occupant detection. Don?t attach wiring to airbag harnesses or place pads where they conflict with sensors.
- Not securing connectors: Under-seat connectors need to be locked and supported so they don?t rattle loose.
Real-World Setup Examples (What Works Well)
Example 1: Two-seat install in a midsize SUV
- Kit style: Universal, relay-based, two-level switches
- Power strategy: Battery feed with inline fuse, ignition trigger via add-a-fuse
- Why it works: Stable power, no battery drain risk, easy troubleshooting with separate fuses per seat
Example 2: Classic car with a clean interior
- Kit style: OEM-look switches, hidden harness routing
- Power strategy: Ignition-only, using a relay panel under the dash
- Why it works: Preserves classic aesthetic while adding modern comfort without messy wiring
FAQ: Heated Seat Wiring Questions People Ask
Do heated seats need a relay?
Many kits include a relay because seat heaters can draw several amps, especially on high. A relay keeps high current out of the switch and helps reliability. Some low-draw or module-controlled kits may not use a separate relay, but you should follow the kit?s design rather than improvising.
What fuse size should I use for heated seat wiring?
Follow the kit instructions first. Common values are 10A or 15A per seat, depending on wattage. If you?re calculating from scratch, use the heater?s rated wattage and choose a fuse slightly above normal operating current?not dramatically larger.
Can I power heated seats from the cigarette lighter circuit?
It?s usually a bad idea. Many 12V accessory circuits are shared and limited, and heated seats can push them over the edge. A dedicated fused feed (often battery + relay with ignition trigger) is the cleaner and safer approach.
How do I know if a wiring kit will fit my car?
Check harness length, switch mounting dimensions, and whether the kit is designed for your seat type (especially if your seats have airbags or occupancy sensors). When in doubt, measure the routing path and compare to the kit?s stated lengths.
Why does my heated seat turn off by itself?
Many systems cycle on/off as the thermostat regulates temperature?this can be normal. If it shuts off quickly or unpredictably, suspect a weak ground, a loose connector under the seat, or a control module seeing abnormal resistance from the heating element.
Is installing heated seat wiring a DIY-friendly project?
If you?re comfortable removing seats, safely routing wiring, and making solid electrical connections (crimping/heat-shrink, proper fusing), it?s doable. If you?re unsure about power distribution or working around airbag-related seat components, a professional installer is the safer choice.
Conclusion: Choose the Wiring Like You Choose the Seats
A great heated seat upgrade isn?t just about the pads?it?s about the wiring doing its job quietly for years. Start by matching voltage and wattage, prioritize kits with proper fusing and relay control, and pick switches that fit your interior and your driving habits. Then plan your routing carefully so nothing gets pinched, pulled, or rattled loose under the seat.
Next steps you can take today
- Measure your switch location and under-seat routing distance before you order.
- Decide ignition-only vs constant power and plan your fuse/relay layout.
- Choose a kit with clear specs (wattage, fuse size, relay/module details, harness length).
- Set aside time to test the system before fully reassembling the interior.
For more practical interior upgrades, wiring tips, and comfort-focused mods, explore the latest guides on carinteriormix.com.